Step 1: Assess the Damage
Before diving into the repair process, determine the volume of the damage to decide the correct quantity of cold mix bitumen wanted. Whether it is a small pothole or a larger crack, expertise in the repair’s scope will ensure you have the proper substances available.
Step 2: Gather Your Materials
Ensure you have all the necessary tools and materials for the process. This typically consists of cold blend bitumen, a shovel, a tamper or hand compactor, protection equipment, and Bituroll’s Bitumen Roof Sealer to bring safety and sturdiness.
Step 3: Prepare the Surface
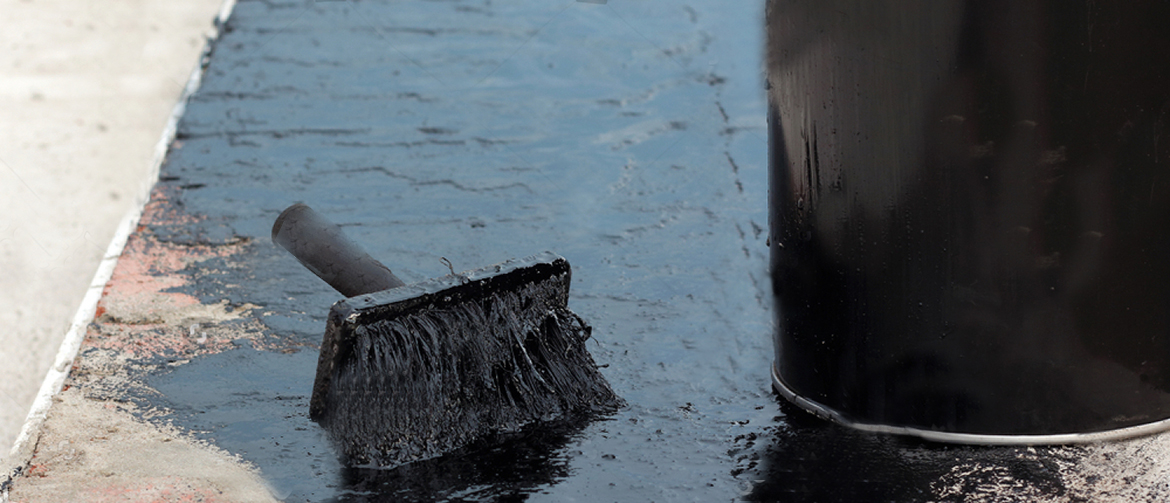
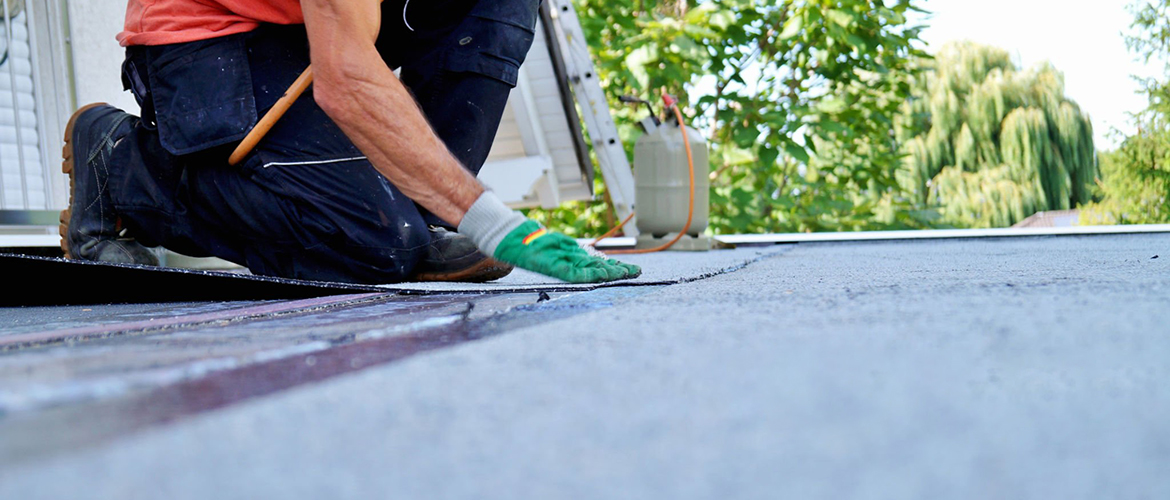
Clean the damaged area thoroughly, removing particles, loose substances, and plants. Use a twine brush or pressure washing machine to ensure the floor is free from dust and contaminants, taking into account the higher adhesion of the cold mix bitumen.
Step 4: Prime the Surface (Optional)
Remember to prime the surface with Bituroll’s Bitumen Roof Sealer before using the cold mix bitumen for better adhesion and toughness. This step creates a sturdy bond between the prevailing surface and the repair fabric, ensuring a long-lasting repair.
Step 5: Apply the Cold Mix Bitumen
Using a shovel, cautiously fill the broken place with cold-mix bitumen, barely overfilling it to account for compaction. Spread the fabric calmly, masking the entire region to be repaired.
Step 6: Compact the Bitumen
Compact the cold mix bitumen using a tamper or hand compactor to ensure proper adhesion and compaction. Apply firm pressure to achieve a smooth and level floor, removing any air pockets or voids.
Step 7: Shape and Smooth the Surface
After compacting the cold mix bitumen, use a shovel or trowel to form and make the surface match the encompassing pavement. Pay attention to any irregularities or uneven areas, ensuring a smooth transition between the repaired area and the rest of the pavement.
Step 8: Allow for Curing Time
Give the cold mix bitumen enough time for curing and setting before allowing traffic or heavy loads at the repaired location. Follow the manufacturer’s guidelines for curing time, which may vary depending on temperature and humidity factors.
Step 9: Seal the Repair
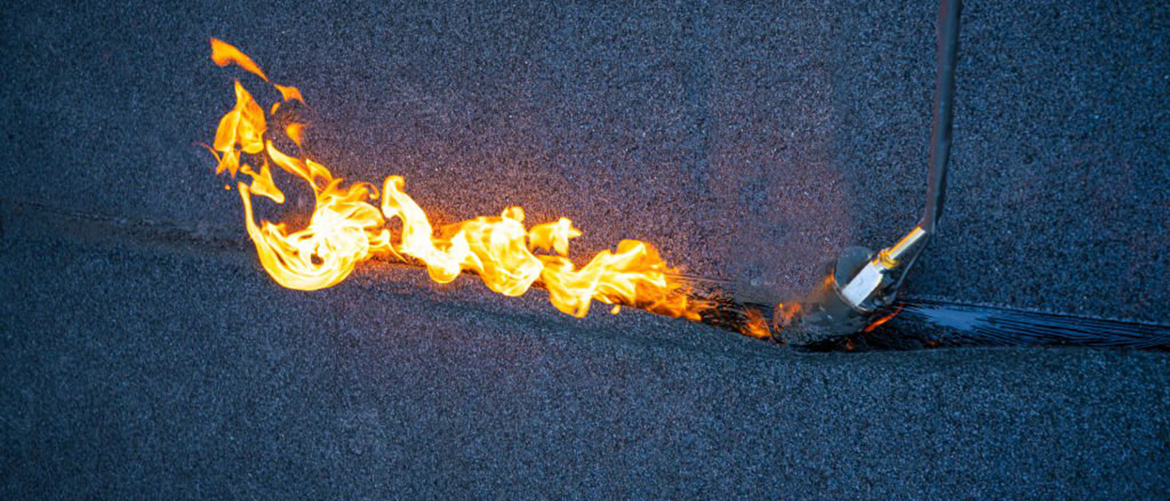
Once the cold-mix bitumen has cured, apply Bituroll’s Bitumen Roof Sealer to the repaired location to provide protection against water infiltration, UV damage, and wear and tear. This additional layer of protection will help prolong the repair and preserve its integrity over time.
Step 10: Regular Maintenance
To ensure the durability of the repair, carry out regular maintenance checks and address any issues promptly. Watch for signs of degradation or damage and perform necessary maintenance as needed using Bituroll’s best products.